This document explains Graph Paper Version 1.5.4.
Graph Paper User Guide
1. Introduction
1.1. Overview
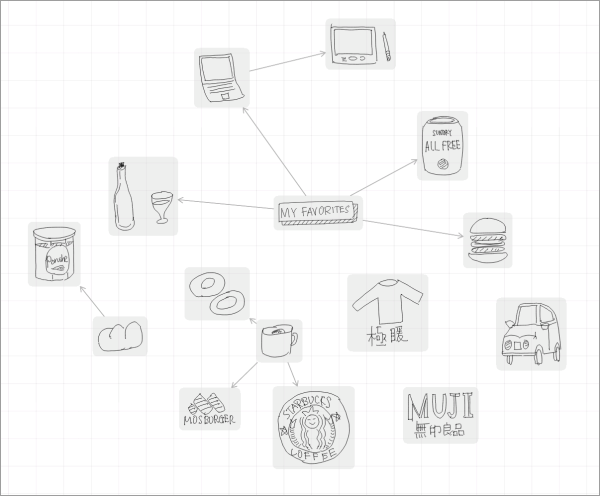
Graph Paper is an idea organizing application such as mind mapping with handwriting for Android tablets.
1.2. Key Features
-
Directly channel your thoughts using Stylus and Finger
-
Multiple mindmaps ( central nodes ) in one document
-
PDF Export (Premium Subscription)
-
Multiple Pen Colors (Premium Subscription)
1.3. Requirements
-
Android 4.4 Kitkat or newer
-
An Android tablet with S Pen or Digitizer Stylus.
|
This app is designed for Digitizer Stylus such as S Pen. If you use this app without Digitizer Stylus, choose Non S Pen Mode option in the Settings. |
1.4. Installation
Get Graph Paper for S Pen app on Google Play.
1.5. Getting help
If you have any questions, please make contact. And also your feedback will be much appreciated.
To get update information, see X.com @mindboard.
2. Using Graph Paper
2.2. (1) Editor
This is for writing down your thoughts and mind mapping.
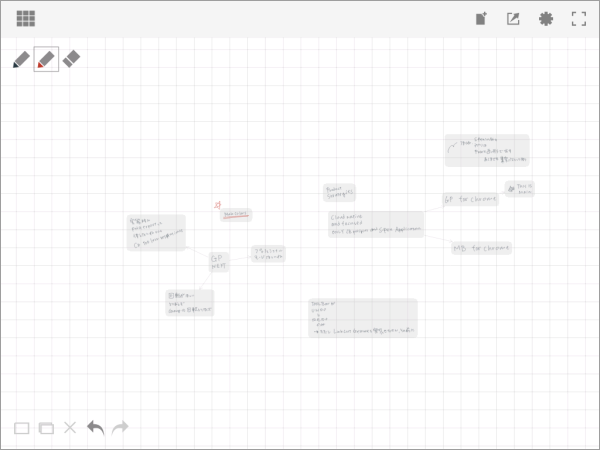
When write down your thoughts, use Stylus such as S Pen, when manipulate them, use with Finger.
-
Writing down your thoughts with strokes ( Stylus )
-
Erasing strokes ( Stylus )
-
Zoom and Scroll (Two Fingers)
-
Zoom in (Double Tap with One Finger)
-
Make Group (Finger)
-
Move Group (Finger)
-
Copy Group
-
Ungroup (Finger)
-
Link Groups (Finger)
-
Delete Group (Finger)
ActionBar
-
 Go to File Manager
 -
 Add New Document
 -
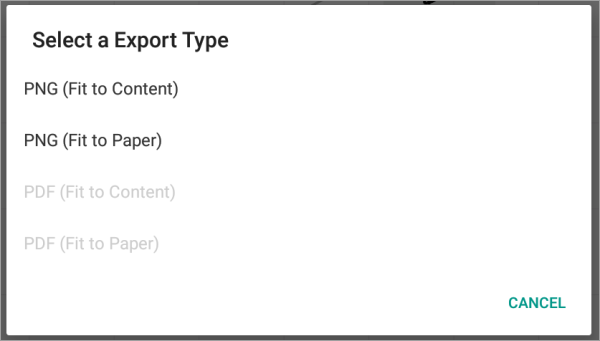
 Export current active document as PNG or PDF
 -
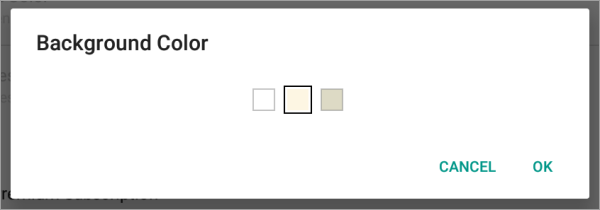
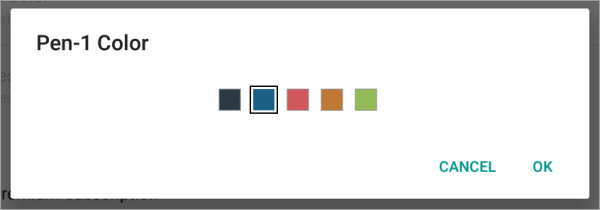
 Go to Current Page Settings ( See Current Page Settings section. )
 -
 Fullscreen
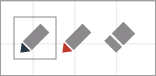
2.2.2. Edit Toolbar
-
Group ( Convert temporary group to persistent one )
-
Copy group
-
Delete ( Delete group or link )
-
Undo
-
Redo
-
Ungroup
-
Copy group
-
Delete ( Delete group or link )
-
Undo
-
Redo
2.2.3. Creating Temporary Group and Persistent Group
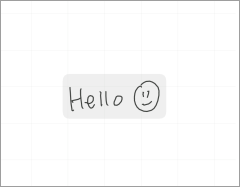
There are some strokes.

(1) Lasso strokes with Finger.

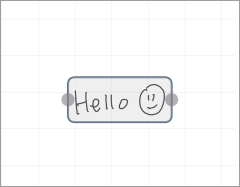
(2) These strokes are converted to a temporary group.

| You can move and resize this temporary group with finger. |
(3) (Optional) In order to make this temporary group persistent, do long press with finger.

|
Another way: You can use the Group Icon |
2.2.4. Ungrouping Group
(1) Tap a group and it’s selected.
(2) Tap the Ungroup Icon ![]() of
of ![]() .
.

|
Another way: You can use finger gesture in order to ungroup it. In details, see the following. |
2.2.5. Ungrouping Group with finger gesture
There is a group to ungroup.
(1) Draw a line in a vertical direction on the group with Finger.
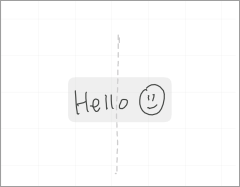
This group is ungrouped.

2.2.6. Deleting Group
(1) Tap a group to delete and it’s selected.
(2) Tap the Delete Icon ![]() of
of ![]()
|
Another way: You can use finger gesture to delete group. In details, see the following. |
2.2.7. Deleting Group with finger gesture
There is a group to ungroup.
(1) Draw a line in a horizontally direction on the group with Finger and it’s deleted.
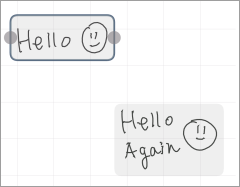
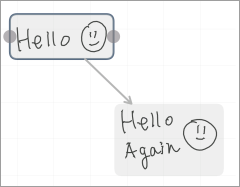
2.2.8. Creating Link between Groups
There are two or more groups.

(1) Tap a source group to select.
(2) Start dragging a Link Handle (gray dot) on this source group with Finger.

(3) Drop it into another destination group.
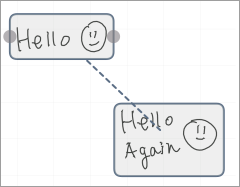
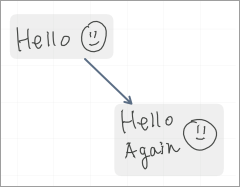
These groups are linked.

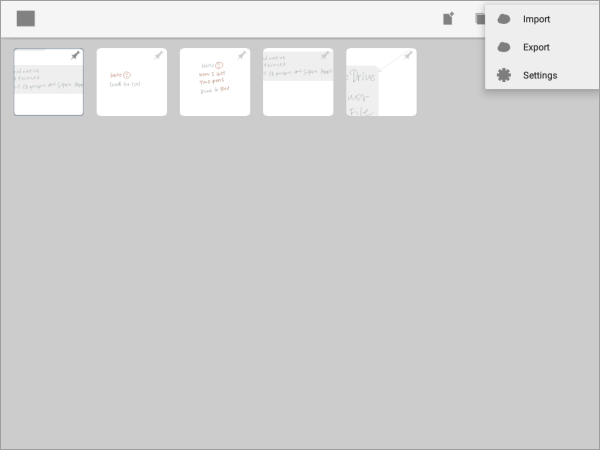
2.3. (2) File Manager
This is for document management.
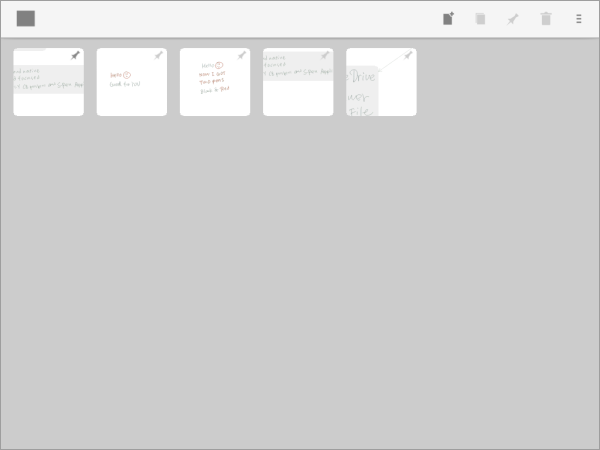
-
 Go Back to Editor
 -
Add New document
-
 Copy document
 -
 Pin document
 -
 Delete document
 -
 Menu
Menu
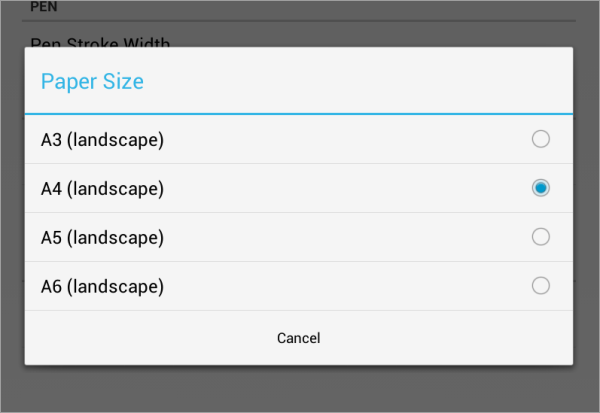
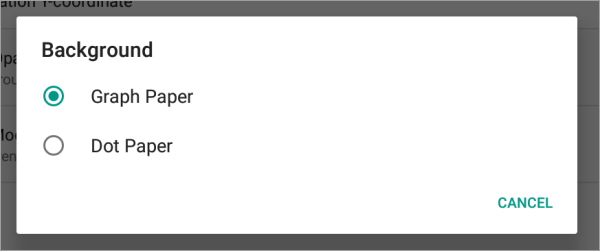
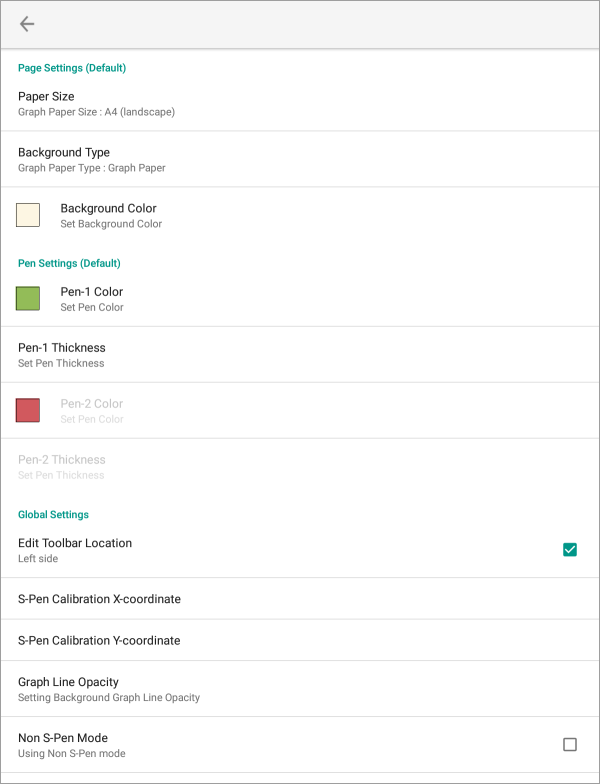
2.4. (3) Settings
There are two Settings screens.
-
One is Current Page Settings.
-
[ Editor →
Settings Button → Current Page Settings]
-
-
Another is Application Settings.
-
[ File Manager →
Menu → Settings Menu Item → Application Settings]
-

3. Additional Information
3.1. Premium Subscription
This app is free.
But additional useful features are provided with Premium Subscription.
If you like this app, please consider to get Premium Subscription and support this app better.
3.1.2. Get Premium Subscription
(1) Go to Editor Screen.
(2) Tap ![]() Settings button. The Settings Screen opens.
Settings button. The Settings Screen opens.
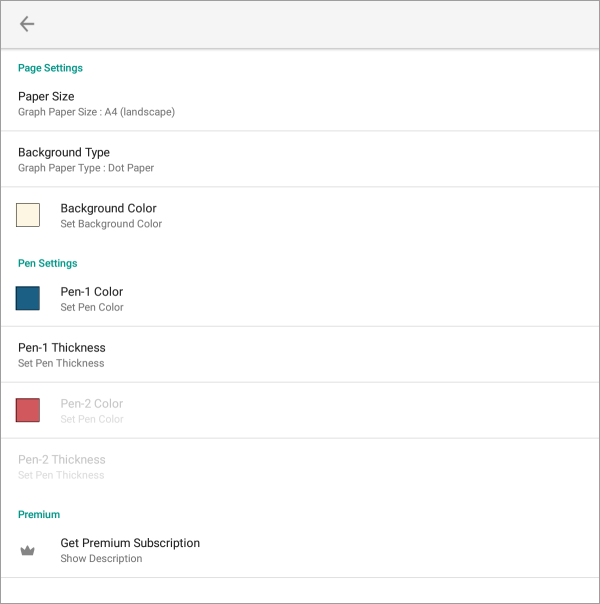
(3) Tap the ![]() Get Premium Subscription item.
Get Premium Subscription item.

(4) Show the Premium Subscription Dialog.
3.1.3. Cancel Premium Subscription
(1) Go to Graph Paper for S Pen on your Android phone or tablet.
(2) Tap Subscription Cancel button.