This document explains MindBoard 2 (Beta) Version 0.7.8.
Introduction
1. About MindBoard 2 (Beta)
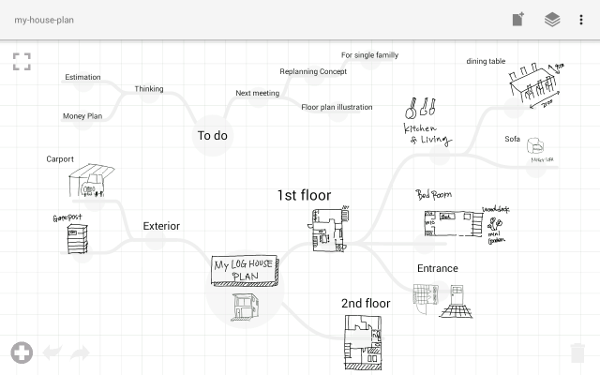
MindBoard 2 (Beta) is a freehand mind-mapping application with stylus for Android tablets. In addition, this edition has text input and image import feature.
1.1. Basic Concept
Less is more.
In order to concentrate your thinking activity, this application has less user interface. And you can quickly build your map by using a few basic operations.
1.2. Key Features
-
Drawing your thoughts with Stylus
-
Image import
-
Text Input
-
Multiple center nodes (mind maps) in one document
-
PDF export
-
Import and export documents with Google Drive
-
Import support for MindBoard Pro Documents on Google Drive (version 0.7.8 and newer)
1.3. Requirement
-
Android 4.4 Kitkat or newer.
-
Digitizer STYLUS like S-Pen
This app is designed for Galaxy Note series and Galaxy Tab A with S-Pen.
| If build your map with text and image only, you can use this application without stylus. |
1.4. Installation
Get the MindBoard 2 (Beta) App on Google Play.
1.5. Getting help
If you have any questions, please contact. And also your feedback will be much appreciated.
Using MindBoard
2. Editor
2.1. Basic Policy
-
By Stylus : Output your thought freely
-
By Finger : Edit and operate outputted your thought.
2.2. Mode
MindBoard 2 (Beta) has two mode in the editor activity. One is Map Edit Mode, the other is Node Edit Mode.
Use Map Edit Mode when building your thoughts as mind-mapping, and use Node Edit Mode when output your thought on a branch. In order to switch these modes by double tap gesture with finger.
| In order to switch from Map Edit Mode to Node Edit Mode, you can also use doubletap gesture with stylus. |
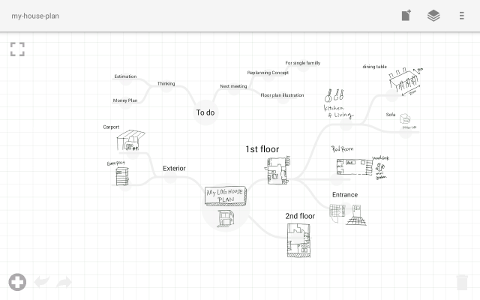
2.3. Map Edit Mode
This mode is for building your thoughts as mind-mapping.
2.3.1. Zoom and Scroll
Operation :
-
Zoom : Pinch in / out with two fingers
-
Scroll : Drag background with one finger
2.3.2. Adding a Center Node
Operation :
-
Tap the
 button on the edit toolbar.
A center node is added on the center of the screen.
Illustration :
| You can add multiple center nodes in a document. |
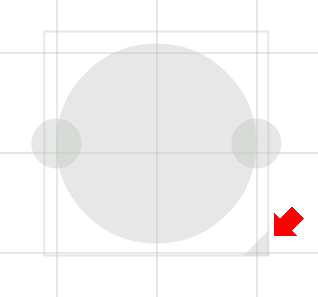
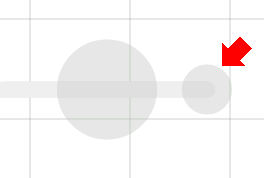
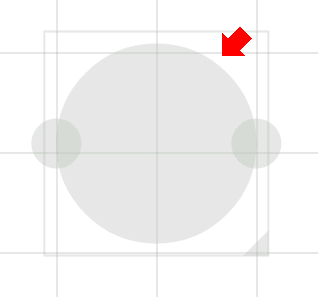
2.3.3. Resizing a Center Node
Operation :
-
Tap a target center node to select
-
Drag a resize handle
Illustration :
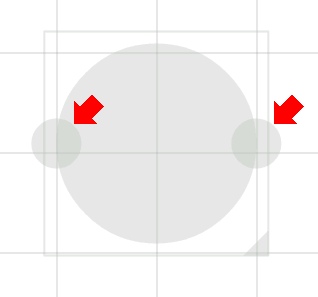
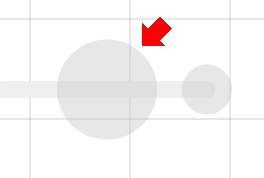
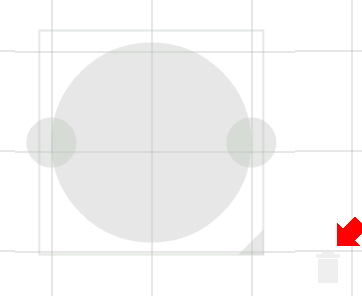
2.3.4. Creating a Child Node ( a Branch )
Operation :
-
Tap a target node to select
-
Drag a handle to create a child node
Illustration :
2.3.5. Entering into Node Edit Mode
Enter into Node Edit Mode to put your thought on a center node or a branch.
Operation :
-
Double tap a target node handle
Illustration :
2.3.7. Reorganizing Map ( Changing Node Structure )
Operation :
-
Tap a target node to select
-
Drag a branch change handle
-
Drop another parent node handle
Illustration :

| If the distance between node and parent node is too near, the branch change handle does not appear. |
2.4. Node Edit Mode
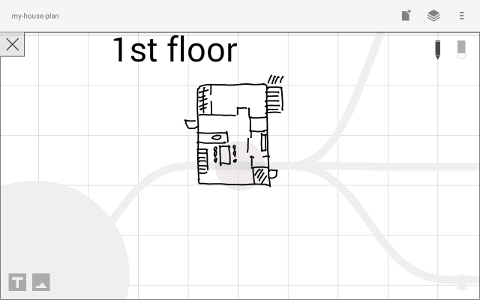
This mode is for outputing your thought on a branch.
There are 3 ways to output your thought.
-
Add or deleting drawings by stylus
-
Input text by keyboard
-
Import images
You can move ,resize, delete these items.
| Currently PNG image format is supported. |
2.4.1. Add or delete drawings by stylus
-
Draw your thought by stylus under selecting the pen tool.
-
Delete drawings by stylus under selecting the eraser tool.
Illustration :
| You can move and resize drawings that is enclosed by finger |
2.4.2. Input text
Operation :
-
Tap the
 button on the edit toolbar
 -
Input text on the dialog
-
Tap the close button
Illustration :

| You can move and resize added text that is selected by finger. |
2.4.3. Import Image
Operation :
-
Tap the
 button on the edit toolbar
 -
Choose an image on the file chooser dialog
Illustration :
| You can move and resize an imported image that is selected by finger. |
2.4.4. Copy and Paste
Operation :
-
Tap a item ( enclosing drawings or text ) to select
-
Tap the clipboard button on the edit toolbar
Illustration :
| Currently image copy and paste feature is not supported. This issue will be fixed in the future. |
2.5. Menu

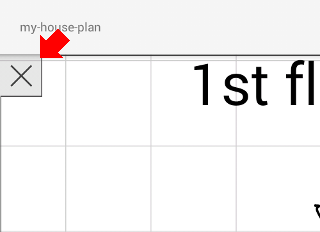
2.5.1. New Document
Operation :
-
Tap the
 button on the action bar.
|
By tapping the |
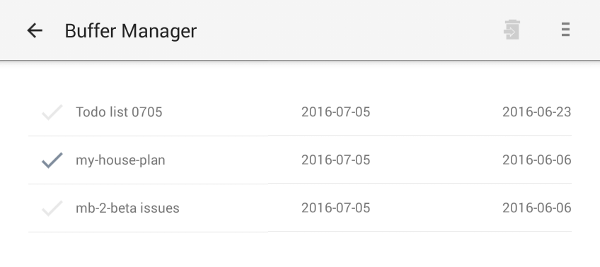
2.5.2. Buffers
The document you are creating resides in an object called a buffer. You can change another buffer using buffers menu.
Operation :
-
Tap the
 button on the action bar
 -
Tap a document to change from buffer popup list menu.
Illustration :
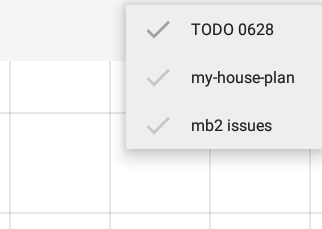
|
The active document has check mark like |
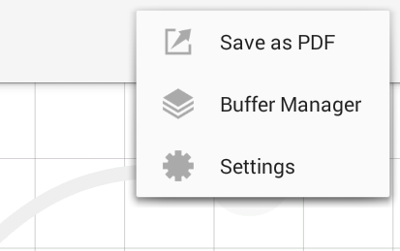
2.5.3. Menu > Save as PDF
The menu item to save an active document as PDF.
Operation :
-
Tap the
 button on the action bar
 -
Tap the
 Save as PDF menu item from the popup menu.
Illustration :
| For checking the PDF quality, download an example mind map pdf. |
3. Buffer Manager
Features :
-
Move to Trash
-
Open Trash
-
Export / Import
| Export / Import process needs the internet connectivity and Google Account. Under losing the internet conectivity, this process does not work. |
3.1. Move to Trash
Move a document to the trash.
Operation :
-
Tap a document from the list to select
-
Tap the
 button on the action bar
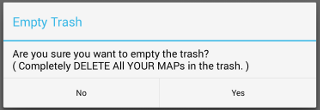
3.2. Open Trash
Enter into the trash activity.
Operation :
-
Tap the
button on the action bar -
Tap the
 menu item on the popup menu
Illustration :
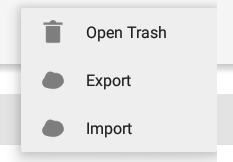
3.3. Export
Export a document to Google Drive.
Operation :
-
Tap a document from the list to select
-
Tap the
button on the action bar -
Tap the
 Export menu item from the popup menu.
Illustration :

| Do not rotate the device under exporting / importing a document. If rotate, this application will be crushed. In this case, you should do again. This issue will be fixed in the future. |
3.4. Import
Import a document from Google Drive.
Operation :
-
Tap the
button on the action bar -
Tap the
Import menu item from the popup menu.
Illustration :
| Do not rotate the device under exporting / importing a document. If rotate, this application will be crushed. In this case, you should do again. This issue will be fixed in the future. |